Automate Real Estate Social Media Content with Canva and Make.com — Part 1
Content is how I built my real estate business past six figures in my first year. Not cold calling, not door knocking — content. Organic social media leads convert at roughly five to ten times the rate of any paid advertising source I’ve used. They’re also free. You’re spending time, not money.
The problem is consistency. Creating high-quality content every day — coming up with the idea, designing the graphic, writing the caption, posting it — is a meaningful time investment. Most agents post once a week if they’re disciplined. Many go months without posting anything.
The goal of this two-part series is to build an automation that generates 60 branded real estate posts for a full month, with just one click at the beginning of the month. Two posts per day, every day, going out automatically, without manual design work or caption writing.
Part 1 covers the Canva side: setting up the brand template and connecting it to Make.com so the automation can generate images on demand. Part 2 adds the ChatGPT caption layer and the Facebook posting integration.
The Goal and the Tools
Here’s what the finished system will do:
- I click a button
- ChatGPT generates 60 post ideas with titles and captions
- Make.com sends each piece of content to Canva
- Canva generates a branded graphic for each post
- The graphics land in Google Drive
- I review and approve
- The posts go out automatically over 30 days on Instagram and Facebook
The tools involved:
- Make.com — the automation layer that connects everything
- Canva Pro — brand templates and the Data Autofill API
- ChatGPT / OpenAI — caption and content writing
- Google Drive — file storage between steps
- Facebook / Instagram — publishing endpoints
This first post focuses on the Canva setup, which is the foundation everything else depends on.
Why Canva Pro Is Required
The free version of Canva works for manual design, but this automation requires two Canva Pro features: brand templates and Data Autofill API access.
Brand templates let you create a locked design that the automation can populate with variable content. The layout, colors, and fonts stay fixed. Only the designated text fields change.
The Data Autofill API (exposed through the Make.com Canva integration) lets an external system — in this case Make.com — push text into those fields and trigger an export. Without API access, you have no way to drive Canva from an automation.
If you don’t have Canva Pro, this is one of the cases where it’s worth the subscription cost. The automation you’re building will generate hundreds of hours of manual work on autopilot.
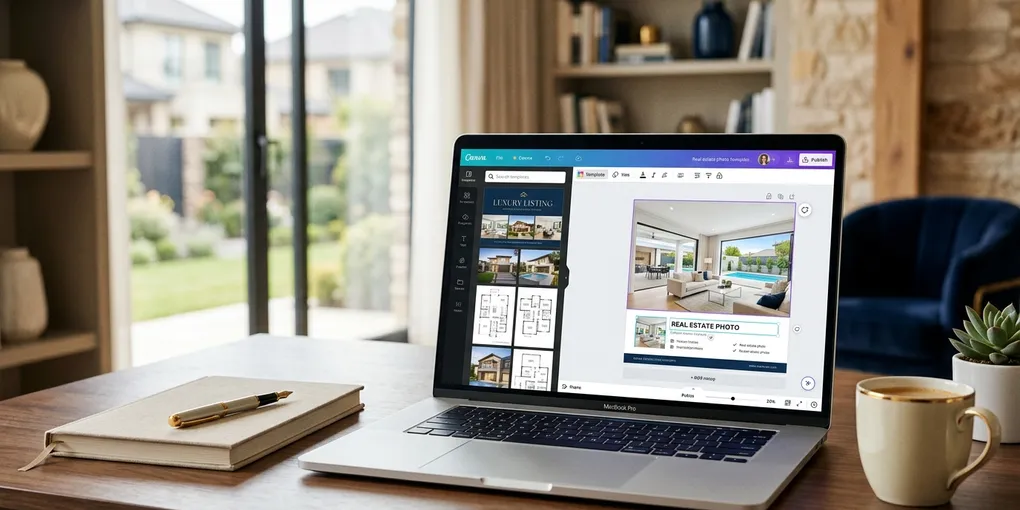
Setting Up the Brand Template
Start by creating a new Canva design. Instagram post format (1080x1080) works across Instagram, Facebook, and most other platforms.
Choose a background image that fits your brand. Real estate interiors, neighborhood lifestyle shots, or a clean color background all work. The important thing is that the background doesn’t change — it’s the stable visual identity that ties all your posts together.
Add two text elements on top of the background:
- A title area (the hook — your main point in a short line)
- A body area (two to three sentences of supporting content)
Size these deliberately. The title should comfortably hold around 50 characters. The body around 230 characters. Write these limits down — you’ll need them when you write the ChatGPT prompt in Part 2.
If the text fields are too small and the AI generates longer content, the text will overflow and break the graphic. Sizing the fields generously now prevents that problem entirely.
Connecting the Data Autofill Fields
This is the step that turns a static design into an automation-ready template.
After adding your text elements, go to Apps in the Canva left panel and find Data Autofill. When you open it, Canva recognizes the text elements in your design and lets you label each one as a data field.
Label your title element “title” and your body element “body.” These field names are what Make.com will reference when pushing content into the template. The names need to match exactly — case matters.
Once labeled, click Publish as brand template. This saves the template to your Canva account in a format that the API can access. The template is now callable from Make.com.
You can create multiple brand templates with different designs — different backgrounds, different color schemes — and your automation can rotate between them to keep the content visually varied. Building 20 templates sounds like work, but it’s the same process repeated. Once you have one template set up correctly, cloning and adjusting it takes five minutes per template.
Building the Make.com Connection
In Make.com, create a new scenario. The first modules you’ll need are:
- A trigger (for now, use “Run once manually” — you’ll upgrade this to a scheduled trigger later)
- A Canva module: Create a design using a brand template
To connect Make.com to your Canva account, you’ll need to authenticate the connection in Make.com using your Canva credentials. Make.com has a Canva app in its marketplace. The first time you set up the connection, you’ll be prompted to authorize access.
The key field in the Canva module is the brand template ID. After you publish your template in Canva, you’ll find the template ID in the URL when you’re viewing the template — it’s the alphanumeric string after /template/. Copy this and paste it into Make.com.
For the title and body fields, map them to whatever content source you’re using. In Part 1 testing, you can hardcode a test title and body just to confirm the pipeline is working end-to-end before adding ChatGPT to the mix.
Exporting the Graphic from Canva
After Canva generates the design, you need to export it as a file Make.com can handle.
Add an Export design module after the Canva creation step. Set the format to JPEG. This is important: Facebook and Instagram require JPEG for the kind of bulk image posting this automation does. Other formats will cause errors downstream.
The export module returns a download URL for the finished graphic. That URL is what you pass to the next step.
Storing in Google Drive
Add a Google Drive: Upload a file module to save the exported graphic.
Point it at the download URL from the Canva export step and save to a designated folder in your Drive. Give each file a descriptive name — include the post number or a date so you can easily identify files when reviewing.
At the end of a successful test run, you should see a new JPEG in your Google Drive. Open it and confirm the graphic looks correct — your background image, your fonts, your colors, with the test title and body you entered.
If it looks right, the foundation is working. Every subsequent post follows this exact same path.
The Direct Download URL Fix
One important note on the Google Drive links you’ll use in later steps.
The default share URL from Google Drive does not work for direct file access in automations. The correct format for a direct download link is:
https://drive.usercontent.google.com/d/download?id=[FILE_ID]After uploading each file, the automation needs to rewrite the stored URL to this format. In Make.com, add a Google Drive: Update a file step or use a text transformation module to reformat the URL. Store the corrected URL back in your Google Sheet.
If you skip this step and use the standard share URL in a later Facebook posting module, the post will fail with a media error.
What You Have After Part 1
At the end of this setup, you have:
- A published Canva brand template with two data fields
- A Make.com scenario that calls the Canva API, generates a graphic from provided content, exports it, and saves it to Google Drive
- Correct understanding of the direct download URL format
That’s the image generation pipeline. In Part 2, we add ChatGPT to write the content automatically, build the approval workflow, and connect the publishing step to Facebook.
If you want to access the Make.com scenario files and the full setup walkthrough, you can get them free in the Real Estate AI Society community — sign up via the newsletter page.
For an overview of all the AI tools I use in this stack and others, see the tools page.
Liked this article? Get more like it.
AI tools, prompts, and workflows that close deals — delivered in 5 minutes a week. Free, unsubscribe anytime.